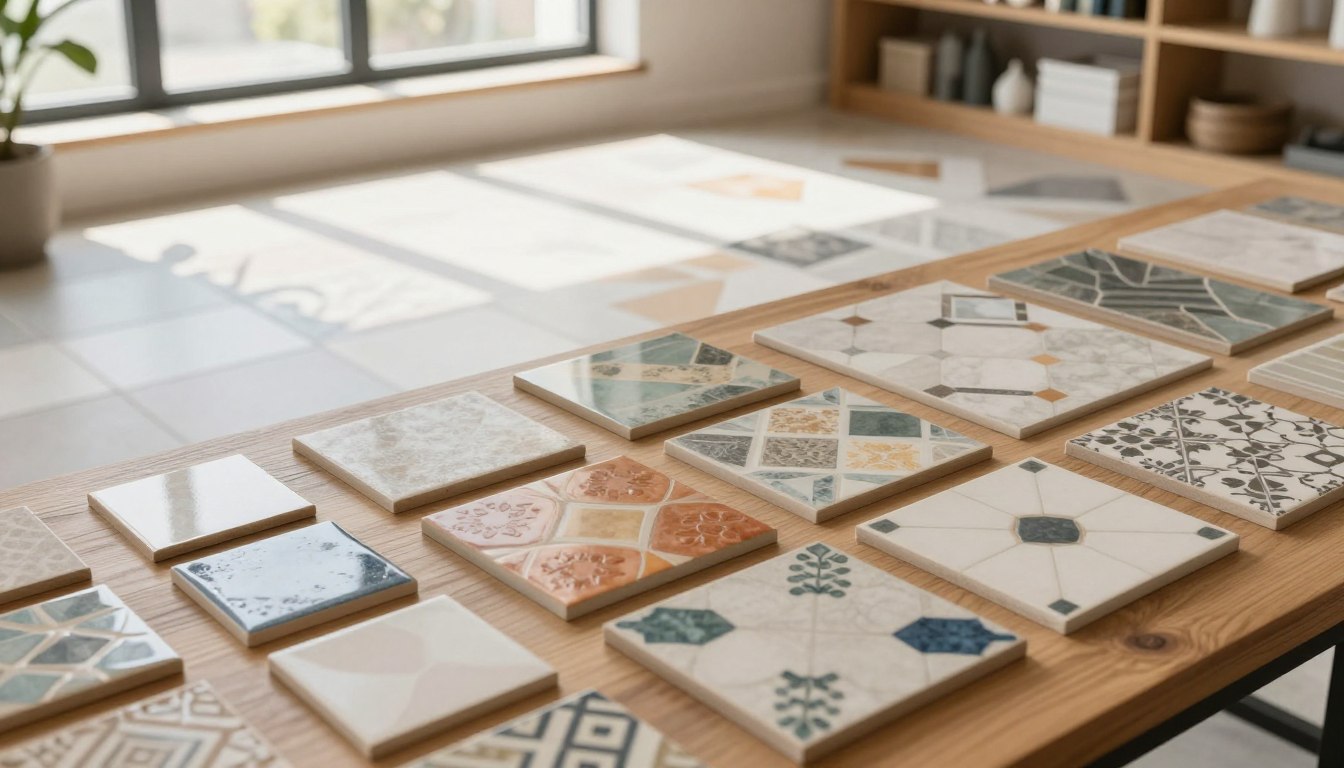
Embarking on a home renovation flooring project is an exciting milestone for any homeowner. Whether you are updating a kitchen or refreshing a bathroom, selecting the right foundation sets the tone for your entire space.
This comprehensive resource serves as your essential tile flooring guide. We will help you navigate the complex market of available options to ensure your investment remains beautiful and durable for years to come.
You will discover various tile flooring materials while exploring creative tile flooring ideas that match your unique style. We also break down how to choose tile based on your specific budget, room traffic, and maintenance preferences.
Planning ahead is the secret to a stress-free upgrade. By focusing on performance and long-term care now, you can enjoy a stunning result that adds real value to your property.
Key Takeaways
- Assess your room’s traffic levels before selecting materials.
- Balance aesthetic appeal with practical maintenance requirements.
- Establish a clear budget to manage renovation costs effectively.
- Prioritize professional installation for long-term durability.
- Consider moisture resistance when selecting surfaces for bathrooms or kitchens.
Your tile flooring guide: Materials, Styles, and Planning
Navigating the world of flooring materials requires a careful balance of personal style and practical daily needs. Whether you are updating a kitchen or a bathroom, the right choice will serve as the foundation for your home’s aesthetic.
Compare ceramic, porcelain, natural stone, glass, and luxury vinyl tile
Each material offers unique benefits that cater to different areas of your home. Understanding these differences ensures you make an investment that lasts for years.
| Material | Best Use | Maintenance |
|---|---|---|
| Ceramic tile | Walls/Low traffic | Easy |
| Porcelain tile | High traffic/Wet | Low |
| Natural stone tile | Entryways/Living | High |
| Luxury vinyl tile | Basements/Kitchens | Very Low |
Match each material to moisture, traffic, and maintenance needs
For high-moisture areas like bathrooms, porcelain tile is often the superior choice due to its low water absorption rate. If you prefer a softer feel underfoot, luxury vinyl tile provides excellent water resistance and comfort in busy kitchens.
Natural stone tile adds timeless elegance to entryways but requires regular sealing to prevent staining. Meanwhile, ceramic tile is a versatile and budget-friendly option for wall accents or rooms with light foot traffic.
Choose tile sizes, shapes, colors, patterns, and surface finishes
The visual impact of your floor depends heavily on the geometry and color you select. Large-format tiles can make a small room feel expansive by reducing the number of visible grout lines.
Intricate patterns or bold shapes act as a focal point, drawing the eye across the space. Choosing the right finish, such as matte or polished, also dictates how light interacts with your floor.
Coordinate flooring with room size, lighting, cabinets, and countertops
Light-colored tiles can brighten a dim room, while darker tones add warmth and depth to large, open spaces. Always consider your existing cabinetry and countertops to ensure the undertones of your flooring complement your kitchen or bath design.
If your room lacks natural light, a reflective finish can help bounce light around the space. Glass tile is a fantastic option for backsplashes or decorative borders to add a touch of shimmer.
Evaluate durability, water resistance, slip resistance, and long-term upkeep
Safety is just as important as style, especially in areas prone to spills. Look for tiles with a high slip-resistance rating to prevent accidents in bathrooms or laundry rooms.
Durability varies significantly between materials, so consider the expected wear and tear of the household. While natural stone tile is incredibly durable, it demands more consistent care than luxury vinyl tile or glass tile. Prioritizing these factors will help you enjoy your beautiful new floors for many years to come.
Plan a Successful Tile Flooring Installation
Achieving a professional finish on your floors starts long before you lay the first piece. Careful planning ensures that your project remains on budget and avoids common pitfalls that lead to uneven surfaces or cracked tiles.
Measure the room and calculate tile, trim, adhesive, and grout quantities
Accurate tile measurement is the foundation of your project. Start by calculating the total square footage of your floor area, then add a buffer for mistakes and future repairs.
Account for cuts, waste, transitions, and extra material for future repairs
Always purchase 10% to 15% more material than your measured area requires. This extra stock accounts for complex cuts around corners and potential breakage during the tile installation process. Keep a few spare tiles in storage, as dye lots change over time and matching your original floor later can be nearly impossible.

Prepare the subfloor for a level, stable, and moisture-resistant installation
A successful project relies heavily on proper tile subfloor preparation. If your base is not flat, your tiles will eventually crack or become loose under foot traffic.
Address cracks, uneven areas, wood subfloors, concrete, and radiant heating
Inspect your subfloor for structural integrity before starting. Wood subfloors may require additional plywood to prevent flexing, while concrete surfaces often need crack isolation membranes. If you are working with radiant heating, ensure your mortar and underlayment are specifically rated for thermal expansion.
“The quality of your finished floor is only as good as the surface beneath it. Never rush the preparation phase.”
Select the right underlayment, mortar, grout, spacers, and transition pieces
Choosing the correct materials is just as important as the tile itself. Using the wrong tile underlayment can lead to moisture buildup or poor adhesion over time.
Understand when cement backer board, uncoupling membranes, or waterproofing are needed
Cement backer board provides a rigid base for wet areas, while uncoupling membranes help prevent cracks from transferring to your tile. Always select a high-quality tile grout that matches your aesthetic and maintenance needs. Refer to the table below to help select the right components for your specific room type.
| Room Type | Underlayment | Grout Type | Best Use |
|---|---|---|---|
| Bathroom | Cement Board | Epoxy | High Moisture |
| Kitchen | Uncoupling Mat | Sanded | High Traffic |
| Living Area | Plywood | Non-Sanded | Large Format |
Follow the installation sequence from dry layout through sealing and curing
Begin with a dry layout to visualize your pattern and minimize awkward cuts. Once you are satisfied, apply thin-set mortar in manageable sections to ensure it does not dry before you set the tiles.
Know when to hire a professional tile installer and how to avoid common mistakes
While many homeowners enjoy DIY projects, complex layouts or natural stone installations often require a professional tile installer. Mistakes like improper spacing or skipping the sealing process can lead to costly repairs. If you feel overwhelmed by the technical requirements, hiring an expert ensures your investment remains protected for years to come.
Conclusion
Selecting the right surface for your home requires a careful balance of style and function. You must weigh moisture levels, foot traffic, and personal design preferences to ensure your investment lasts for years.
Creating durable tile flooring involves more than just picking a beautiful pattern. True longevity relies on a solid foundation and a high-quality installation system. When you prioritize a waterproof tile flooring setup, you protect your subfloor from hidden damage and costly repairs.
Safety remains a top priority in high-traffic areas like kitchens and bathrooms. Choosing a slip-resistant tile helps prevent accidents while maintaining a clean aesthetic. Proper tile maintenance keeps your surfaces looking new and prevents grout degradation over time.
Brands like Daltile or Schluter-Systems offer reliable products that simplify the process for homeowners. If your renovation plans involve complex layouts or structural changes, reach out to a professional tile installer. Expert guidance ensures your project meets all safety standards and local building codes.
Take your time to review product specifications before you commit to a purchase. Your attention to detail during the planning phase guarantees a beautiful and functional result for your home.